

Chimney breasts are common in Victorian properties and when you strip back the wallpaper you may see wooden corner beads on the external corners. These are fine if you are planning to re-paper but a real pain if you wanted paint. With modern houses metal beads are used allowing the plaster skim right to the edges but old exposed Victorian corner beads look ugly and the wall is plastered only up to the bead edge. In this brief post we look at what to do with wooden wall corner beads if you want to paint. We went off piste a little here with our living room and are quite pleased with the result.
What is the Victorian Project all about? Find out here.
What To Do With Wooden Wall Corner Beads?
In older properties external corners would contain a piece of timber to ensure a right angle and an edge for the plaster. Often referred to as lime plaster corner beads as this was the common material used for plastering before modern gypsum type plasters emerged. These beads can be removed but this would require a re-plaster of the wall. You cannot skim over these as wood expands and contracts with temperature changes. So if your intention is to paint you need a new solution as simply painting over them will not look right. You really have the following three options here. [See also: Should Lime Be Used for Victorian Houses? Lime vs Gypsum Plaster]
1. Change Your Plans To Wallpaper
Wooden wall corner beads were never an issue when your old property was built. Back then they always used wallpaper! Painting walls is a more modern thing and not really compatible with the old beads. If you want a quick fix you can scrap your plans to paint and put up some wallpaper. Wallpaper will cover up your old Victorian corner beads and you will not know they are their. Ask yourself if not having painted walls is really a big deal? [See also: Plaster, Putty & Paint – The Living Room Walls]
2. Remove Wooden Corner Beads & Re-plaster
Wooden corner beads can of course be removed. Any modern plastering job would use galvanised metal angle beads. These allow the plaster skim right up to the external corner edges. If you remove & replace you will need some re-plastering work and will come at additional expense. [See also: Repairing Lime Plaster Walls – Hiding The Cracks
3. Our Lime Plaster Corner Beads Coverup Approach
So we were adamant that we wanted painted walls & we had not budgeted for additional plastering work. The old lime plaster corner beads would have to stay but we needed some way of covering them up. We looked at decorative right angle edging beads both online and ‘off-the-shelf’ at the DIY stores but the issue with these is they simply were not big enough to cover the wood corner. The plaster was somewhat messy along the edges of the existing beads with a small dip where it meets the wood. [See also: Breathable Paint For Lime Plaster – What Are The Options?]
We measured from the outer edge of the bead into the wall to the point where the plaster was neat and paintable. We calculated that we would need right angle beads with 55mm internal edges to fully hide the mess. After contacting a number of local timber merchants we were able to have right angle corner pieces custom made to this size at a price of £47 each. This is significantly more expensive than ‘off-the-shelf’ products but far cheaper than re-plastering. Our main living room required 4 of these, 2 on the chimney breast and 2 on the bay window. [See also: Remove Stubborn Wallpaper – Stripping Back]
Preparation, Priming & Painting
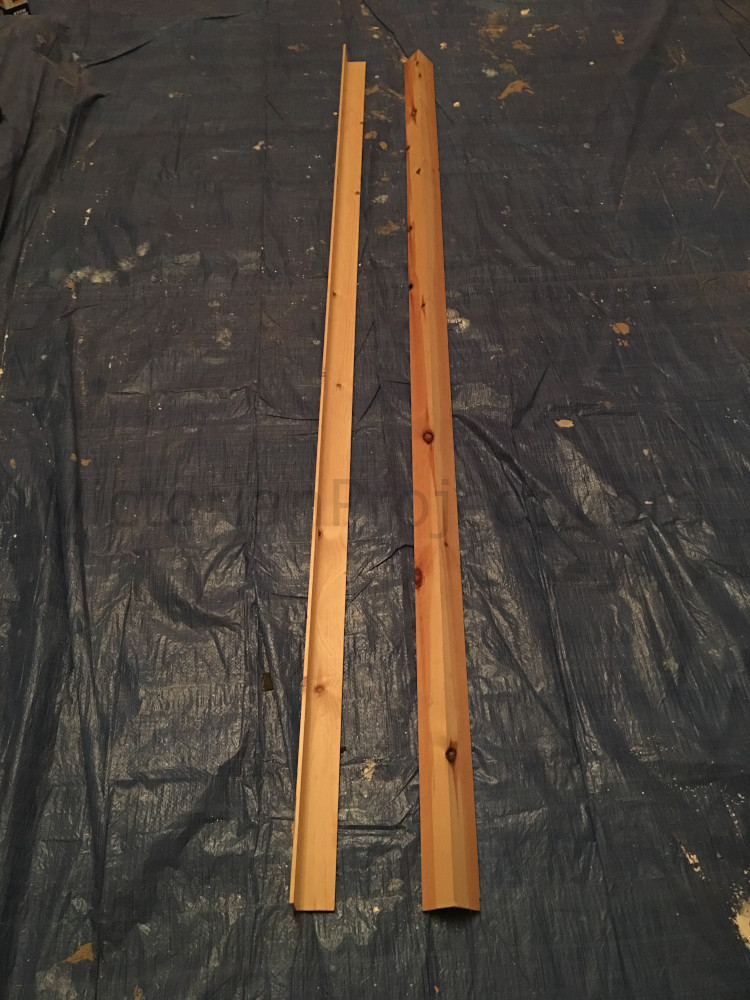
Once our custom made right angle beads had been delivered it was time to get them ready. The beads would sit both above and below a picture rail so we started by cutting them to size.
Once cut we temporarily positioned the custom beads to ensure that we had cut them correctly and that we had achieved a perfect fit. See image above.
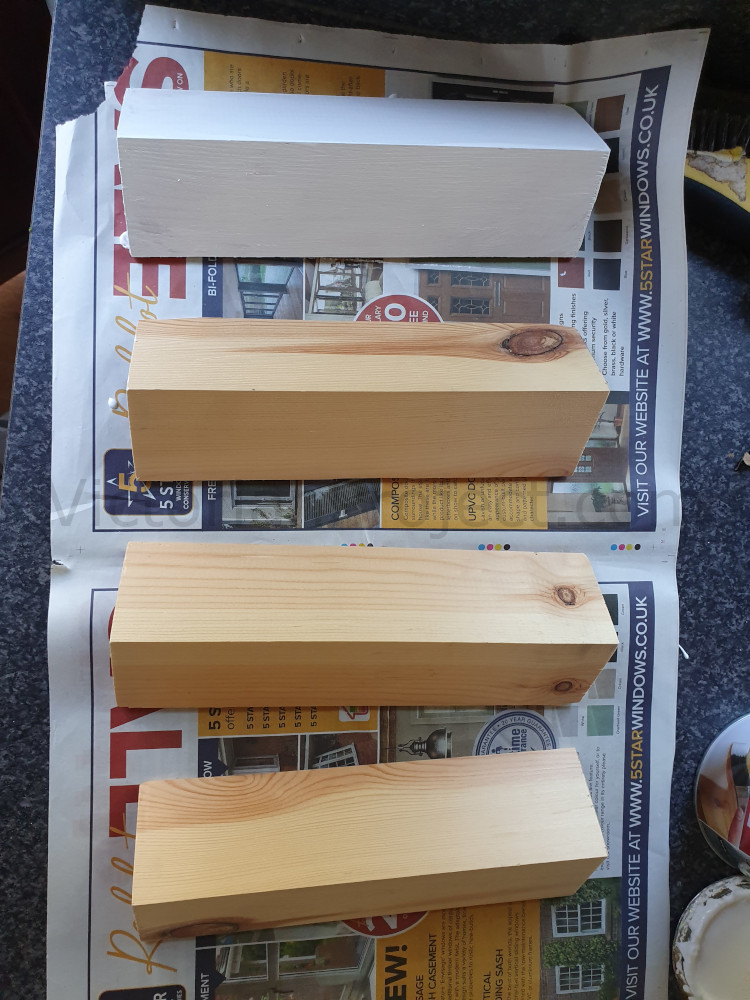
Next we gave each piece a healthy coat of wood primer followed by 2 coats of white satin paint to match the picture rail, skirting boards and coving. We used a water based white paint so that it doesn’t yellow over time. As the beads will sit in the main focal point of the room, the last thing we would want is for them to yellow and look unclean. Once all of this had dried we were ready to fix them into place. [See also: Fix Damp in Victorian Houses and the Common Causes]
Fixing The Custom Made Right Angle Beads In Place
Before our custom cut beads could be secured in place we ensured that all areas where they would sit were clean and relatively level.
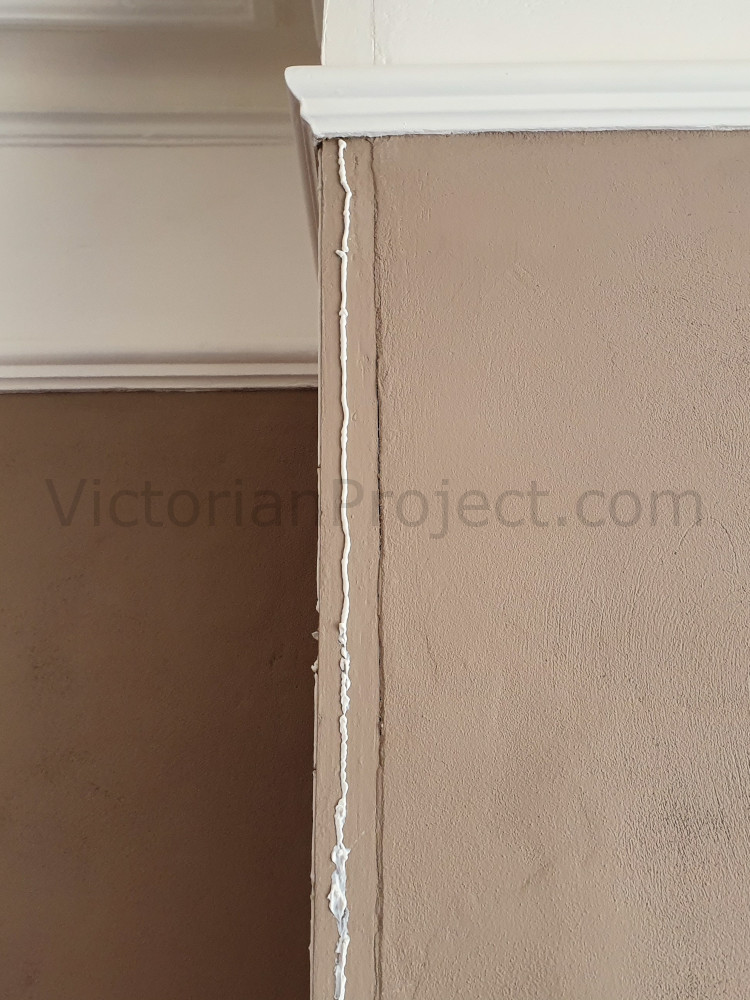
We put a line of No More Nails adhesive along the areas of the existing old beads that would make contact with new right angle beads. See image to the right. We then put the wood into place and secured it with a few pins, just enough to hold it in place while the adhesive dried. Once fitted we used a little bit of caulk at the top and bottom of each piece to ensure a perfect connection with the skirts and picture rails. The following day once the adhesive & caulk had dried we used a final bit of white satin paint to go over the caulk & pin heads. The images below show the finished article. [See also: What To Do With A Wallpapered Ceiling? Be Careful!]
As you can see the ugly looking edging beads are nicely hidden away. The new white right angle beads work well with the other features of the room. We were able to have painted walls without the expense of new plaster. We were really unsure if this would work but are really pleased with the end result! [See also: Fitting a Wall Mural & Creating A Feature Wall]
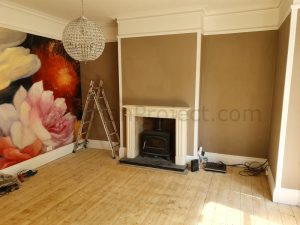
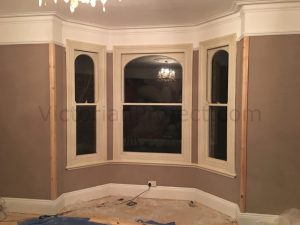
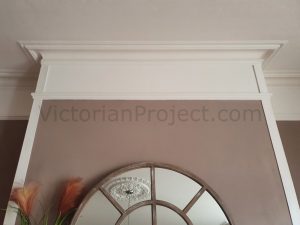
The image below shows the chimney breast with the custom made right angle beads in place. These are both above and below the picture rail. These add to the character of the chimney and really make it stand out.
Victorian Corner Beads – Roundup
If you are changing papered walls to paint and are trying to work out what to do with wooden corner beads then hopefully our solution might be something you could try. You can remove the old lime plaster corner beads but you would need to be prepared to pay for some plastering work. Some well made custom right angle beads finished in the same products used for your skirts and picture rails will make your edges into a feature rather than an ugly eyesore. This is very easy to do and a simple solution to a tricky problem. [See also: Restoring Wooden Floorboards & Finishing – No Pain No Grain]